Showing posts with label 2006. Show all posts
Thursday, July 26, 2012
Thursday, July 19, 2012
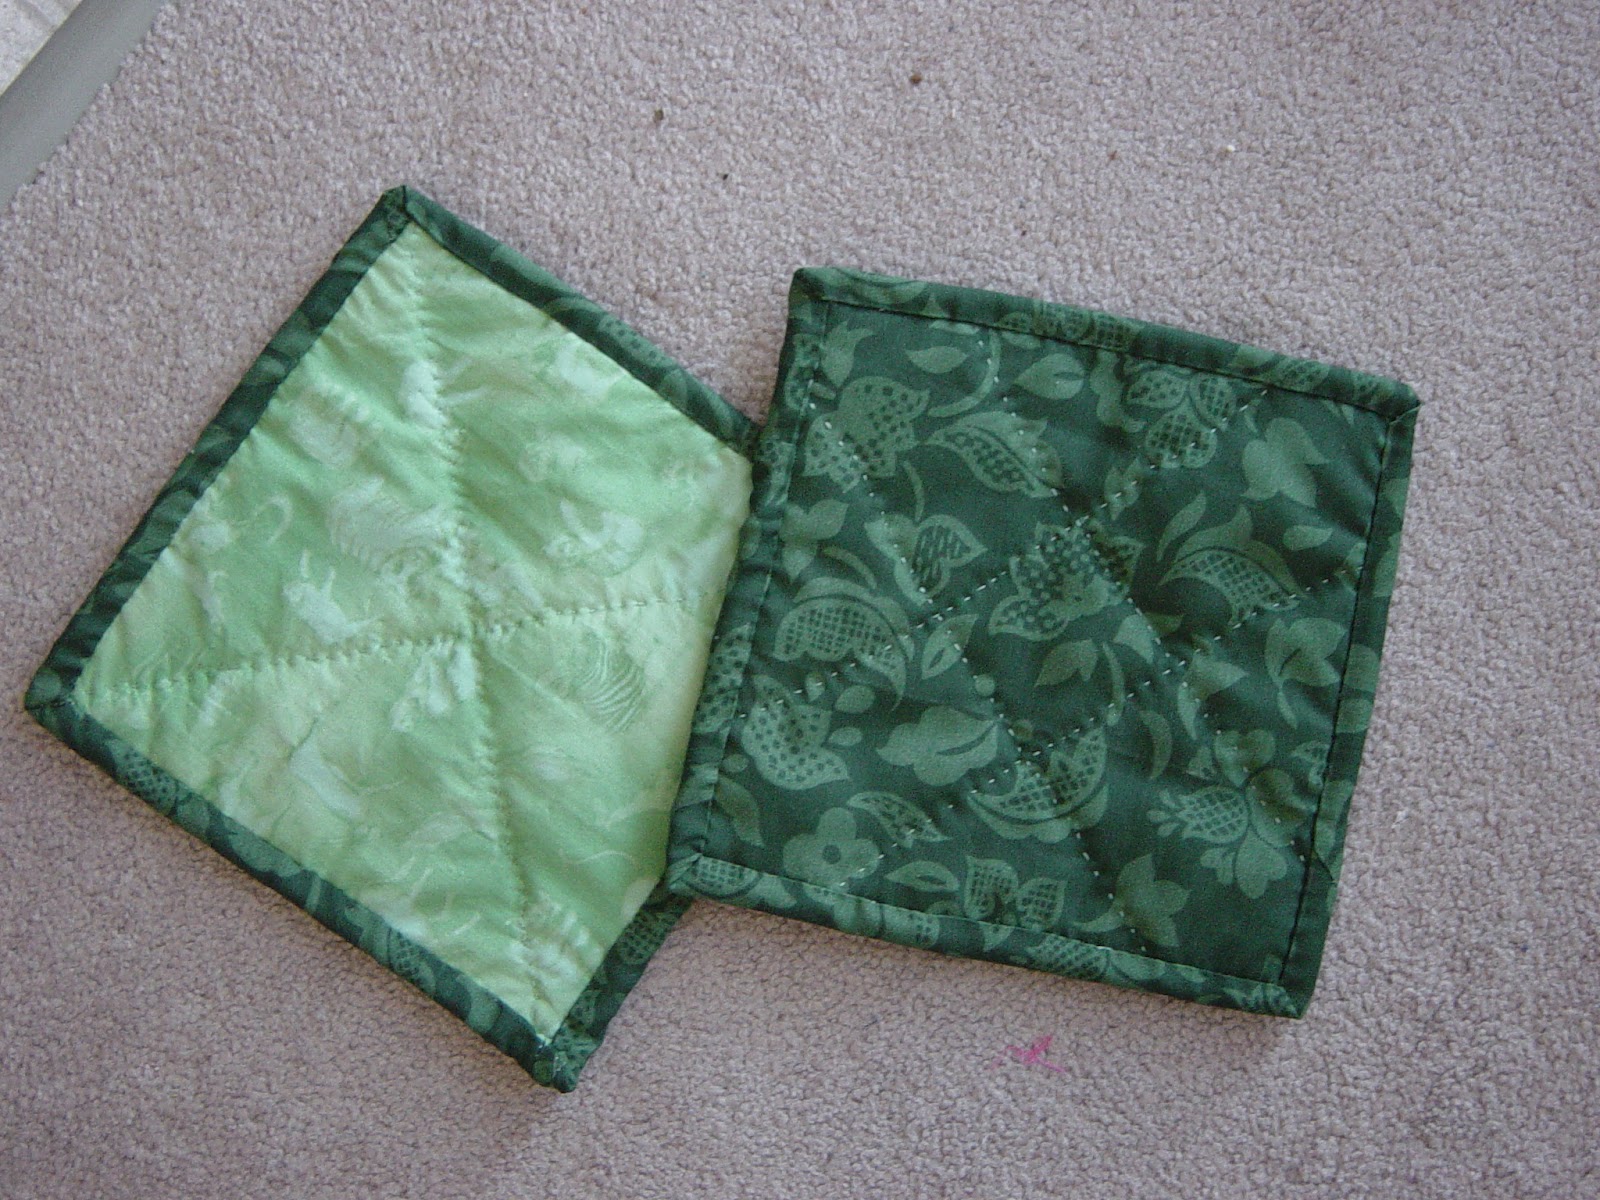
Cheryl's
Cheryl is a huge fan of light neutrals. One day I'm going to try to do an entire quilt in ivorys and whites!
Labels:
2006,
Hand Quilted,
Neutral,
Paper Pieced,
Potholders
Thursday, July 12, 2012
Brenda's
My husband chose the cat print :)
Can anyone tell me what the star block is called? I didn't take careful enough notes.
Saturday, July 7, 2012
Change Pad
Date: 2006
Reason: I wanted a pad that I could change diapers on. I wanted something warm and easily washable.
Fabrics: I used leftover sweater fabric from the previous post (used inside out for softness) and denim from my very large collection.
Thoughts: I modeled this after "Chinese Coins" but it obviously isn't done correctly. Note to self to do a 'real' Chinese coins some day!
I wasn't concerned about making this square. As you can see, I didn't even try.
Six years later, I am about to retire this pad as it is not needed anymore. I'm feeling a little sentimental about that.
Friday, July 6, 2012
Leslie's Quilt
Date: 2006
Reason: The boss of the place I was working wanted a quilt to commemorate the different shirts that the business had designed over the years. This is my first commissioned piece.
Fabrics: I used my own denim stash and the shirts that she gave me. The dark blue corduroy that I used for the back was from the local warehouse.
Lessons: This was early in my quilting life: PREWASH FABRICS! (It seems basic now). The darker denims discoloured some of the tshirt fabics.
At the time, the walking foot was what I used for quilting. It helped ease the way across stretch fabrics (i use a darning foot now).
Use thinner batting for a denim quilt.
Thoughts: Remember to take a picture at the end!!!
I kept track of my hours. It came out to 32!
Charge more next time.
Labels:
2006,
Commissioned,
Corduroy,
Denim,
Machine Quilted,
Square,
T-shirt
Thursday, July 5, 2012
Phil's
Labels:
2006,
Hand Quilted,
Paper Pieced,
Potholders,
Rainbow
Thursday, June 28, 2012
Mum's
For my mother. Paper pieced. In my first year of quilting, I don't think it occurred to me to square up.
Thursday, June 21, 2012
Jane's
Thursday, June 14, 2012
Ali's
Thursday, June 7, 2012
Jen's
One Christmas, everyone got potholders. It was when I first started quilting. I wanted to practice making individual blocks. It seemed like a good fit to make them all into potholders. These are Jen's. I enjoyed using DMC floss to quilt them.
Wednesday, June 6, 2012
Junior's Quilt
Date: July 2006
Reason: The birth of my first born and the love of the ragged edge look.
Fabrics: Fabric from a local warehouse. They were prepackaged in lights and darks for $15/8!
Lessons Learned: Be very careful when cutting the ragged edge. It is quite easy to snip through the seams!
Monday, June 4, 2012
Lessons in Blue
Alternate Title: Privately I called this quilt "Evil Quilt of Doom". I was pregnant at the time. Tears came often.
Pattern: I drew this pattern four times before I was happy with it.
Date: Top finished 2006
Size: 64 x 80
Inspiration: Precut fabrics were donated to LBCQ. I finally had a sewing machine of my own so I volunteered to take them home and play.
Special Fabrics: Some of the fabrics were starched, some were super stretchy. My favourite was a green fabric with bugs and the yellow fabric with frogs.
Lessons Learned: When sewing 2 pieces together, the bottom piece will stay the same, but the top piece can stretch out a little.
To match seams, put a needle through the 2 seams.
When designing a quilt, attempt to put together pieceable squares that can then be fitted together. ( I was working with pre-cut squares that I was doing my best not to further cut down. This resulted in a lot of T-seams. For a beginner quilter, it was very trying.)
Thoughts: A member of LBCQ machine quilted this and it was sold at an MCC auction for approx $70.
Labels:
2006,
Charity Quilt,
Flannel,
Green,
Machine Quilted,
Twin Size,
Yellow
Wednesday, May 30, 2012
God's Promise: The Rainbow Effect
This quilt is made up of 121 4½ inch blocks, one 1½" black border and one 5" border.
Each block is made up of (4) 4½ x 1½ strips for a finished block size of 4". This is a total of 484 strips. Strips are put together within the block from dark to light.
You will need the following quantities of blocks:
1- Black or very dark violet block
2- Dark Purple Blue
3- Purple
4- Lighter purple
5- Light purple with blue tones
6- Medium/Dark Blue
7- Blue
8- Light Blue
9- Medium greeny-blues
10- Dark Green with blue tones
11- Dark Green with yellow tones
10- Medium Green with yellow tones
9- Light yellowy greens (army tones)
8- Light yellows (perhaps with a little green)
7- Strong yellows
6- Golds
5- Orange
4- Pumpkin
3- Reds w/ orange tones
2- Deep reds
1- Burgundy
Sew your strips together dark to light, four strip to one block. I found it necessary to lay all the blocks out so I could arrange and rearrange until I was happy with how they looked.
Cut your black strips: 2 at 44½, 2 at 46½ and attach.
I used two different batiques for my outer borders to mimic the rainbow and I mitred them to continue the diagonal feel of the quilt.
Since this is the first time I've ever mitred a corner, I'm not going to try to tell you how to do that. This is the video I used to learn the technique. After that all that's left is to quilt and bind the quilt as you see fit.
Best Buys: My Aunt chose the backing fabric, a cute purple wavy stripe with a gold tinge. It was on sale at Fabricland for $5/meter! The rest of the fabric was gifted to me. Yay for shoeboxes full of scraps!
Lessons Learned / To Learn: My edges are wavy and I'm not sure why. I'd love to figure out what went wrong so I can avoid this for the future. I haven't decided if I am going to wash this quilt. I'm planning to hang it.
Labels:
2006,
2012,
Lap Quilt,
Machine Quilted,
Mitre,
Rail Fence Block,
Rainbow,
Square,
Tutorial
Subscribe to:
Posts (Atom)